
 Wheat thins are pretty much a pantry staple. Those crispy little crackers in a yellow box are perfect for snacking but they also make a great appetizer. The only dilemma is that we always seem to be out...and they can be expensive.
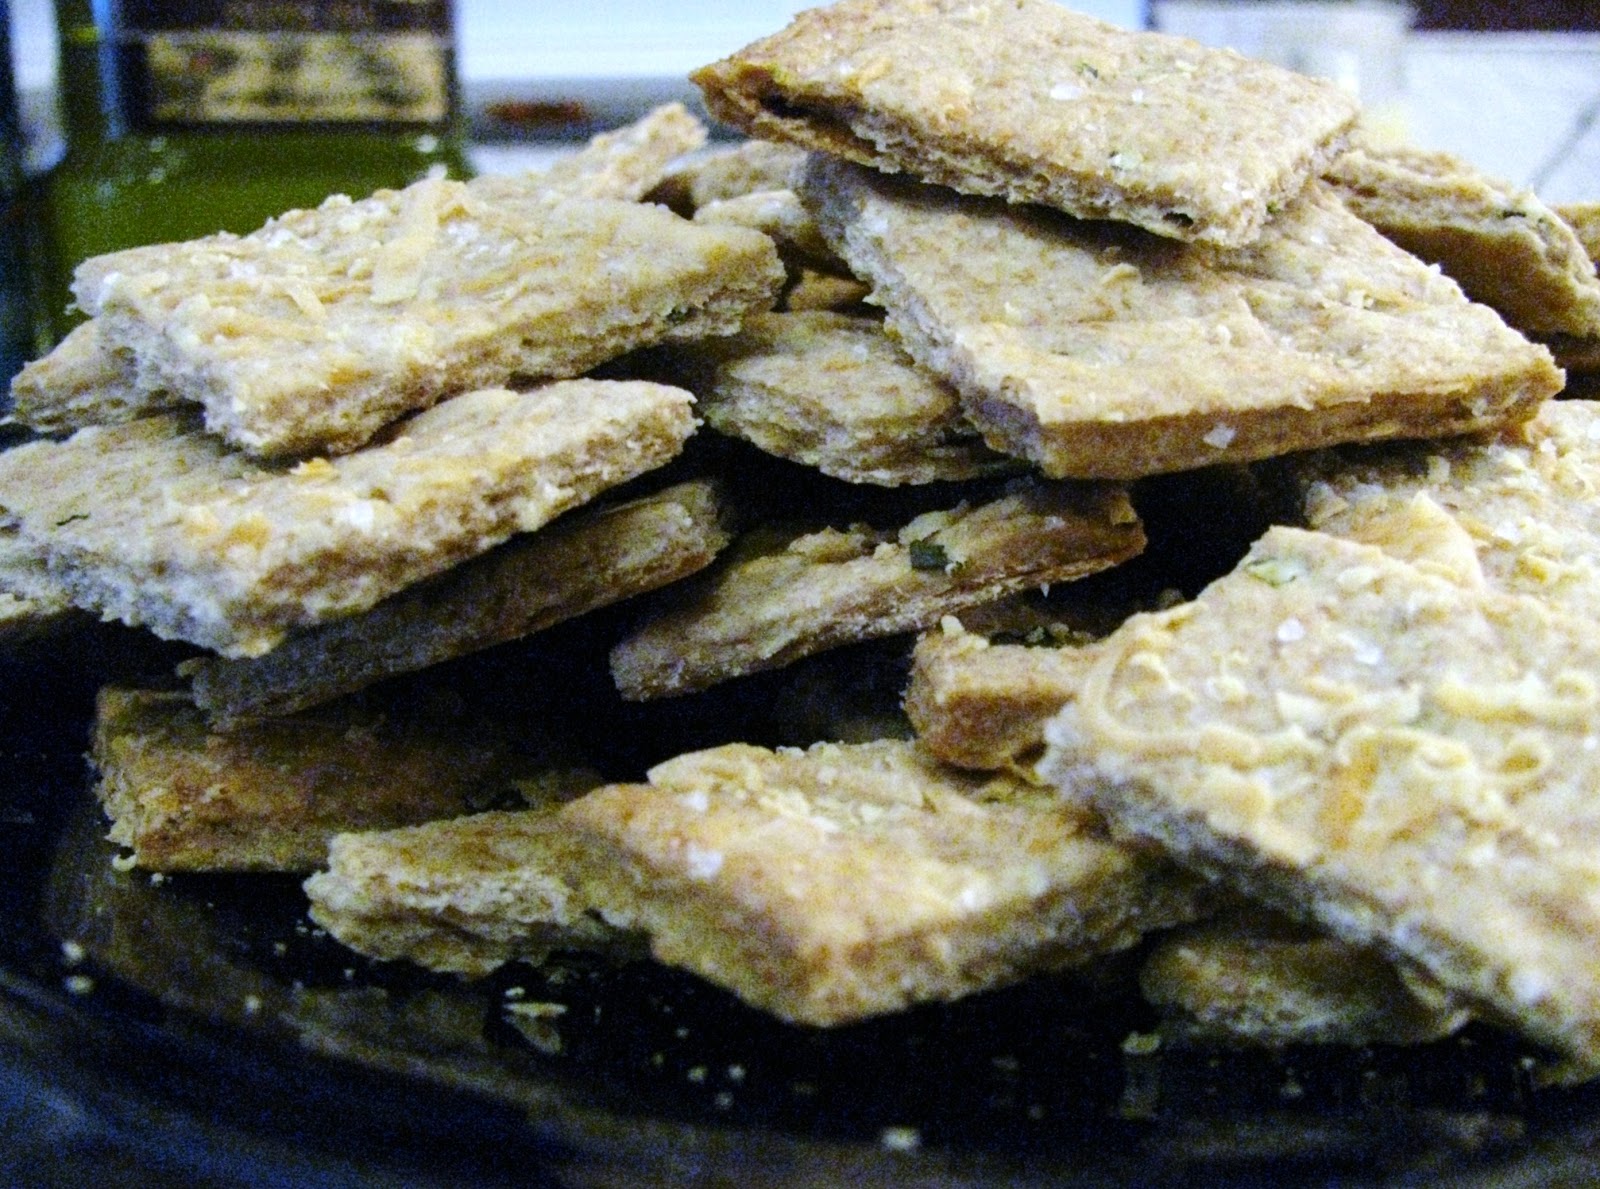
I found this basic wheat cracker recipe a few weeks ago on allrecipes.com and since have been experimenting with different flavor combinations. These crackers are addicting, especially when dipped in hummus or other spreads. I also like that they are natural, not laden with ingredients and preservatives that I can't pronounce. Try it out yourself, tweak the flavors, experiment with different ones, and see what you come up with.
Ingredients
- 1 1/2 c. whole wheat flour
- 1 3/4 c. all-purpose flour
- 1 tsp. salt
- 1/2 tsp. black pepper
- 1 1/2 tsp. garlic
- 1 tsp. onion powder
- 3/4 c. Asiago cheese (you could also try Parmesan, sharp cheddar, or other cheeses)
- 1/3 c. chives, chopped fine
- 1/3 cup vegetable oil
- 1 cup water
- sea salt for sprinkling
- olive oil
Preheat oven to 375 degrees Fahrenheit.
In a medium sized bowl whisk together wheat flour, all-purpose flour, 1 teaspoon of salt, black pepper, garlic powder and onion powder. Add in the chives, and 1/2 c. of the cheese, stirring to combine.
Add vegetable oil and water, mixing until combined. You will be left with a very firm ball of dough.
Remove the dough to a lightly floured flat surface. Grab your rolling pin and begin rolling out into a large rectangle. This is where you will begin working off all those calories that you will consume once these crackers are finished! Work, work, work that dough until it is thin sheet (1/8 of an inch or thinner), large enough to fit into a baking sheet.
Transfer your dough to an ungreased baking sheet. Use a pizza cutter to trim off excess overhang. (You can set this extra dough aside and bake it in a smaller second batch.)
Lightly brush with olive oil. Sprinkle with remaining cheese and sea salt.
Use your pizza cutter to trace out lines about 1 inch apart on the surface of the dough, taking care not to cut all the way through. Turn your cookie sheet and do this in the other direction, to form a grid of squares. Don't worry, they don't have to be perfect! Prick the entire surface of the dough lightly with a fork.
The original recipe says to bake these for 15-20 minutes, but I found it takes my oven between 20-25.That being said, check your crackers at 15 minutes and then at intervals of 5 minutes until you notice that they are starting to brown. When you first pull them out of the oven they may not seem crispy, but they will begin to crisp up as they cool.
When cool break crackers apart. Store in a Ziploc bag to maintain freshness. Enjoy!
*Note: I'm not quite sure how long these will stay fresh in the pantry...but we've enjoyed ours for up to 3 days and they still taste fresh. By that time, they are usually gobbled up. :)
No comments:
Post a Comment